Victorian Basement Foundation Construction, 1850–1900
As one travels New York State and surrounding state, one will note many historic Victorian Mansions. This article takes a look at the all important foundations & basement construction of these treasures & the skilled laborers that made them possible.
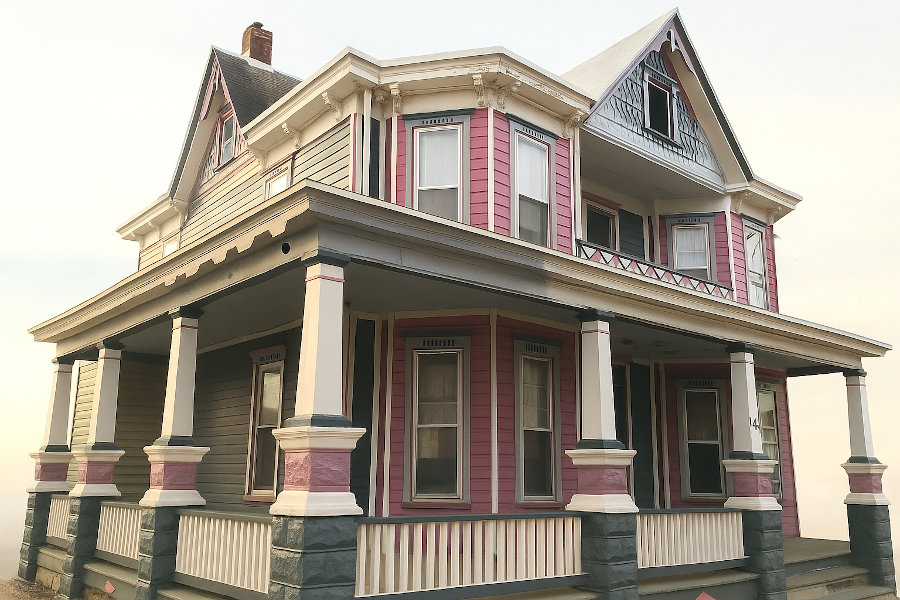
Historical & technical summary with examples inspired by the
Zehr Estate (about 5' of stone with 3' of brick in the basement) and
Zehr Retreat (7' of stone with 2' of concrete blocks in the basement).
Executive summary
During the mid-to-late 19th century, large residences relied on substantial stone foundations and lime mortars. Excavation was performed by hand, stone was sourced locally when possible, and skilled masons built thick stone walls with broad bases that performed the role of modern footings. Proper drainage, mortar composition, and construction sequencing were key to long-term stability—many such foundations remain sound today.
Key construction stages
1. Excavation & earthworks
- Hand excavation using picks, shovels, spades, and wheelbarrows; typical basement depths ranged from ~5' to 7' for usable basement space.
- Excavated material was reused for site grading, terraces, or carriage approaches, minimizing waste and improving drainage around the house.
- Crews of 5–15 laborers might spend weeks removing earth for a mansion-scale basement; rock or compact soils could slow progress considerably.
2. Stone base / footer preparation
- Rather than a poured concrete footer, builders set a wide stone base course (often wider than the wall) to spread loads into the soil.
- Base courses were commonly 12–24" below the eventual basement floor and could be stepped depending on soil or frost concerns.
3. Wall construction & mortar
- Wall thickness at the base typically ranged from 2–3 feet for mansion foundations and often tapered slightly upward.
- Stone walls consisted of dressed face stones, with a rubble core packed with smaller stones and mortar.
- Lime-based mortar (lime + sand) was the standard binder. Additives might include crushed brick, clay, or organic fibres to modify setting properties.
4. Transition above grade
- Brick was frequently used above grade as a lighter, more uniform finish; the stone-to-brick transition was accomplished with a leveling course or wood sill.
5. Drainage & ventilation
- Drainage—grading away from the foundation, occasional stone French drains, and rubble trenches—was essential to prevent moisture damage.
- Basement ventilation used small windows or grates to keep spaces dry and usable.
Labor, timeframes & logistics
The work combined manual laborers and skilled masons. Typical durations (mansion-scale):
- Excavation: 2–6 weeks (depending on soil and crew size)
- Stone procurement: several weeks if quarrying or hauling was required
- Wall construction: 1–3 months
- Backfilling/finishing: 1–2 weeks
Overall, foundations for large houses commonly represented a multi-month investment before above-ground construction advanced substantially.
Materials & sourcing
Local materials were favored—fieldstone, sandstone, limestone, or granite—depending on regional geology. Quarrying and transport were significant costs: stone was moved by horse-drawn wagons or sledges, and when rail/canal access existed, that eased long-distance hauling.
Why 19th-century stone foundations lasted
- Overbuilt—thicker walls add redundancy against settlement
- Lime mortar is softer and more forgiving than modern cement, allowing slight movements without brittle failure
- Attention to drainage and site grading reduced the primary long-term threat: water
Practical notes for preservation & inspection
- Look for soft or powdery mortar joints—this can indicate lime mortar deterioration but is often repairable with compatible lime mixes.
- Check for moisture entry points at the grade line and ensure exterior grading slopes away from the structure.
- When repointing or repairing, use a lime-based mortar compatible with original materials; modern high-strength Portland cement mortars can cause damage to historic stonework.
- Where drainage is poor, consider discreet perimeter drainage improvements and careful backfilling with clean, free-draining fill.